The journey of transporting cattle from Yellowstone to Texas is a fascinating tale of logistics, tradition, and modern practices. This movement is not just about moving livestock; it’s about ensuring the sustainability of ranching, preserving animal welfare, and maintaining effective herd management. Let’s delve into how this intricate process is managed.
Historical Context of Cattle Drives
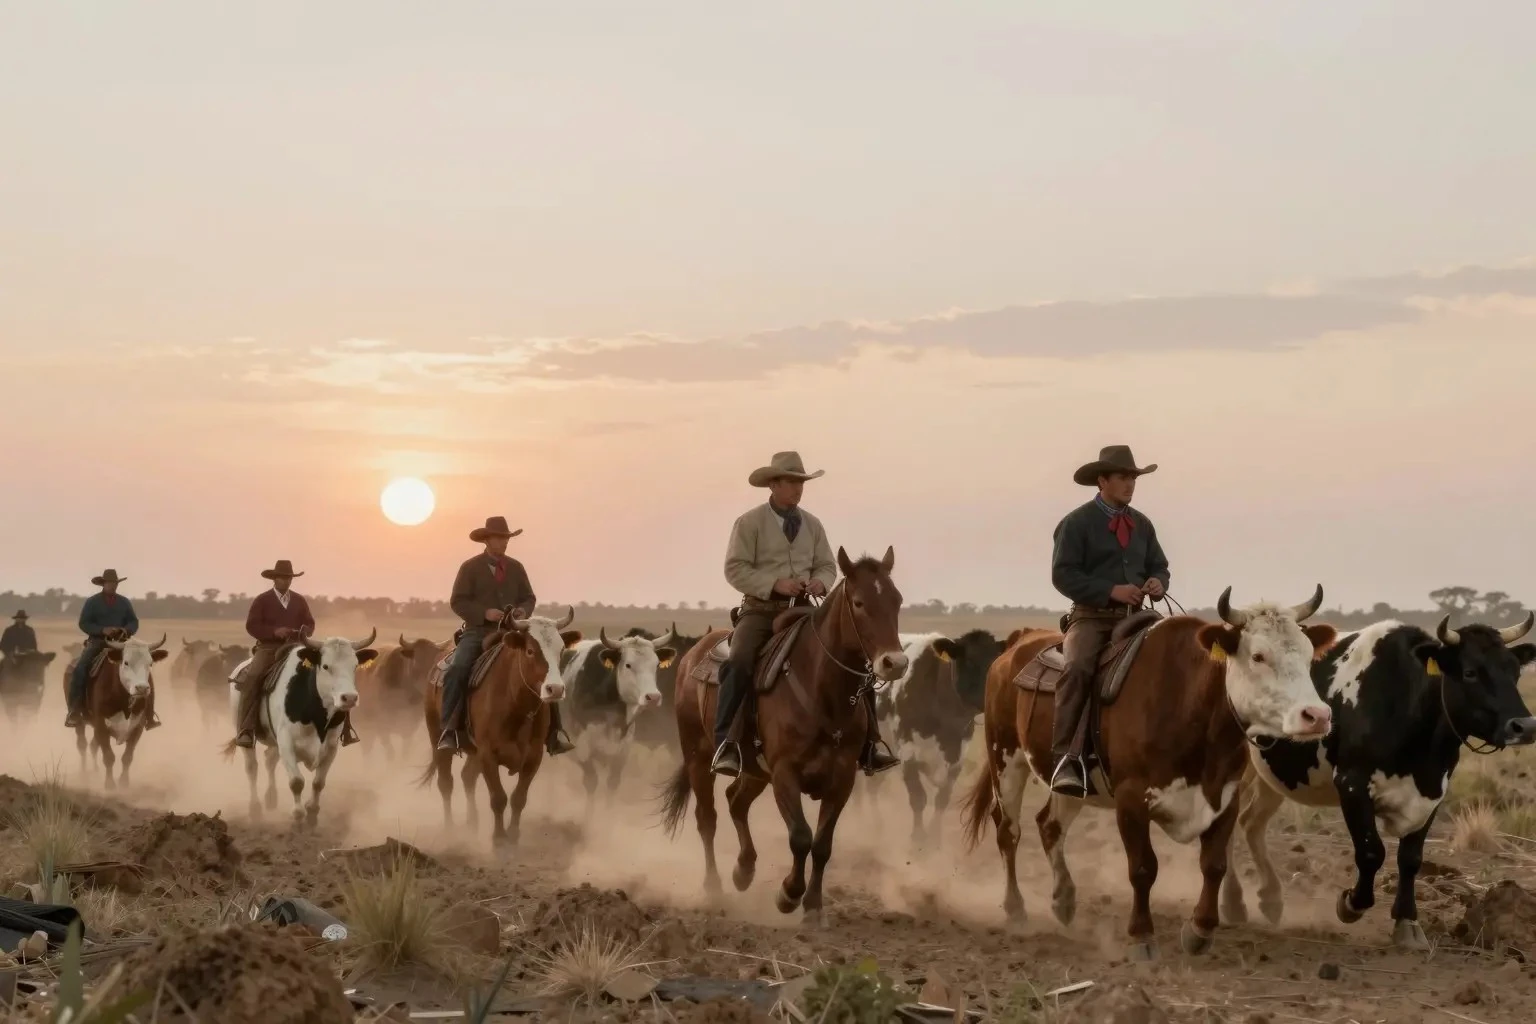
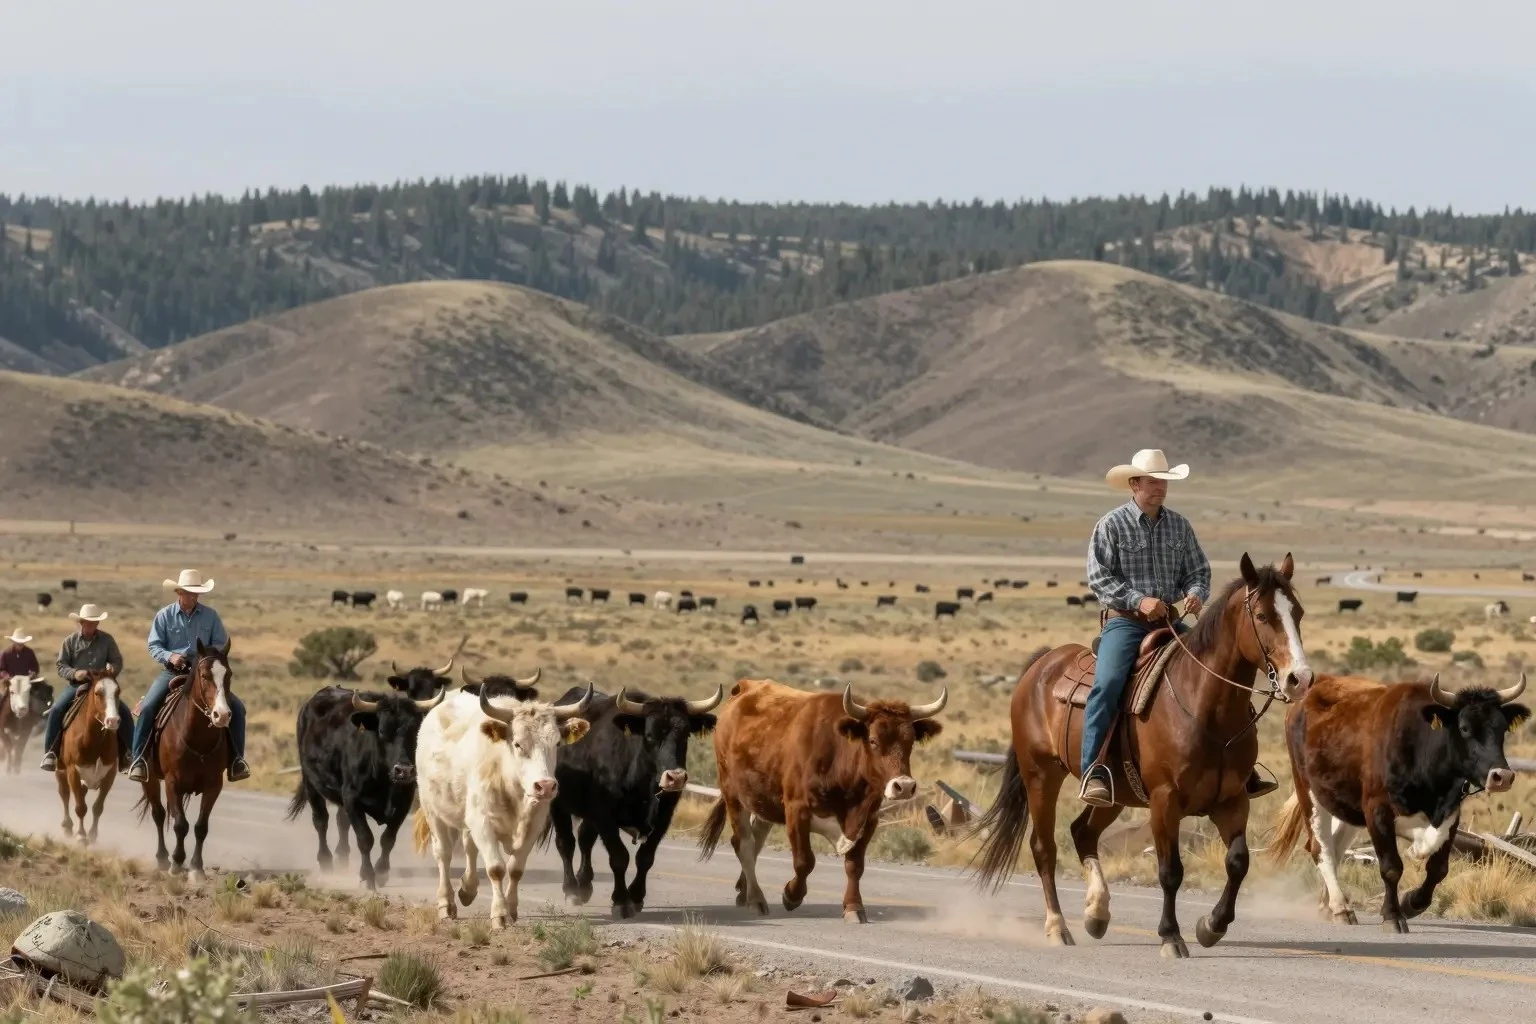
Historically, cattle drives were a significant part of the American West, with cowboys guiding herds across vast distances to reach grazing lands; The tradition of the cattle drive is deeply rooted in American culture, symbolizing the rugged, independent spirit of the cowboy. Today, while the methods have evolved, the essence of cattle drives remains, particularly in the context of transporting cattle from Yellowstone to the fertile lands of Texas.
The Role of Cowboys
Cowboys are central to the cattle transport process, managing herds with expertise honed over generations. Their knowledge of animal behavior, pasture relocation, and herd management is invaluable. Although modern technology has introduced new tools, the cowboy’s skills remain irreplaceable in ensuring the safe and efficient movement of livestock.
Modern Livestock Movement
Today, while the romance of the cattle drive is celebrated, practicalities have shifted much of the transportation to modern means. Freight logistics now play a crucial role in transporting cattle over long distances. The trucking industry, with its specialized vehicles designed for livestock transport, facilitates the movement from Yellowstone to Texas efficiently and humanely.
Trucking Industry and Freight Logistics
The trucking industry has developed specialized freight logistics to handle the unique challenges of moving livestock. These trucks are equipped with features to ensure animal welfare, such as temperature control and ventilation systems. The focus on sustainable practices in cattle transport is vital, aiming to minimize stress on the animals during their journey.
Transportation Routes and Logistics
Determining the optimal transportation routes is critical. Routes are chosen based on factors like road quality, distance, and access to grazing lands along the way. Efficient logistics planning helps in managing time, reducing fuel consumption, and ensuring that cattle arrive in good health.
Animal Welfare Considerations
Animal welfare is a top priority during transportation. Proper handling procedures are followed to ensure cattle are not subjected to undue stress or injury. Rest stops are strategically planned to allow cattle to rest, hydrate, and graze, contributing to their well-being during long hauls.
Pasture Relocation and Grazing Lands
Once in Texas, cattle are relocated to expansive grazing lands. This relocation is not just about finding pasture; it involves strategic planning to ensure that the environment can support the herd without degrading natural resources. Sustainable practices are crucial in maintaining the balance between livestock needs and environmental health.
Sustainable Practices in Ranching
Sustainable ranching practices are increasingly important as we face climate change and resource depletion. Practices such as rotational grazing, water conservation, and soil health management are integrated into the cattle relocation process. These practices ensure that ranching remains viable for future generations, preserving the delicate ecosystems in which cattle graze.
The transport of cattle from Yellowstone to Texas showcases a blend of tradition and innovation; Through a combination of cowboy expertise, modern freight logistics, and sustainable ranching practices, this movement supports the cattle industry while prioritizing animal welfare and environmental stewardship. As we look to the future, these practices will continue to evolve, ensuring that the legacy of the American cattle drive endures in a modern context.